Login
Login
Winner's Excogitations
A chronicle of the thoughts, learning experiences, ideas and actions of a tech junkie, .NET, JS and Mobile dev, aspiring entrepreneur, devout Christian and travel enthusiast.
Using the Firebase realtime database with .NET
6 years ago · 4 minutes read

A Brief Aside
Over my over 6 years in the software development space and specifically in the .NET ecosystem, I have noticed a kind of animosity towards Microsoft and the .NET platform. Companies create services and develop libraries for just about every other platform but .NET. The excuse cannot be lack of demand as C# is the 7th most used language and ASP.NET the 4th most used web framework by the Stack Overflow developer survey. Despite my ire with the current situation, I do not think it is wholly undeserved as Microsoft has acted in a similar manner over the years, though the organization under Satya Nadella has changed its approach to collaboration. Hopefully, things improve.
Introduction
Firebase is a Backend-as-a-Service (BaaS) that started as a YC11 startup and grew up into a next-generation app-development platform on Google Cloud Platform. Arguably, the mostly widely used product in the Firebase suite is their real-time database. The Firebase Realtime Database is a cloud-hosted NoSQL database that lets you store and sync between your users in realtime. The Realtime Database is really just one big JSON object that the developers can manage in realtime.
Why Firebase?
For a mobile developer with little backend development skill or for a developer who is time-constrained in delivering a mobile product, Firebase takes away the need for building out a dedicated backend to power your mobile service. It handles authentication if you so desire and data persistence and for officially supported platforms, it even offers fail-safes for data if there is a network connectivity interruption. Sadly, .NET is not currently an officially supported platform. I remember seeing a petition or thread of some sort requesting official support from Google but can't seem to find it. Fortunately, we have a workaround. the fine folks over at step up labs wrote a wrapper around the Firebase REST API which gives us access to our data.
Installation
Now to the juicy bits, we need to install the libraries we need. To the shared .NET standard Xamarin project, run one of the following commands, depending on your preference:
Install-Package FirebaseDatabase.net
or
dotnet add package FirebaseDatabase.net
Handling Data
We need to create a model for the data we need to persist and modify. For that, we create a directory called Models. Next, we create a file Student.cs to hold our Student model as defined below:
public class Student
{
  public string FullName {get; set;}
  public string Age {get; set;}
}
The next step is CRUD (Create, Read, Update and Delete) for our data. In order to keep everything all tidy and such, we create a directory Services and a file StudentService.cs to hold our service logic. Remember, data in Firebase has to be stored as key-value pairs. To add support for persisting data to our service, we do the following:
using System;
using Firebase.Database;
using Firebase.Database.Query;

public class StudentService
{
  private const string FirebaseDatabaseUrl = "https://XXXXXX.firebaseio.com/"; // XXXXXX should be replaced with your instance name
  private readonly FirebaseClient firebaseClient;

  public StudentService()
  {
    firebaseClient = new FirebaseClient(FirebaseDatabaseUrl);
  }

  public async Task AddStudent(Student student)
  {
    await firebaseClient
      .Child("students")
      .PostAsync(student);
  }
}
To make use of our service, we add the following, it can be added to the code-behind files of views or in other services:
...
public StudentService service = new StudentService();
...
var student = new Student
{
  FullName = "John Doe",
  Age = "21 Years"
}
await service.AddStudent(student);
To retrieve the students we have saved to the database, we can add a new method to our StudentService class:
using System.Collections.Generic;
...
public class StudentService
{
  ...

  public async Task<List<KeyValuePair<string, Student>>> GetStudents()
  {
     var students = await DatabaseClient
       .Child("students")
       .OnceAsync<Student>();

      return students?
        .Select(x => new KeyValuePair<string, Student>(x.Key, x.Object))
        .ToList();
  }
}
As you can observe with the data retrieval above, when we push new data to Firebase, a new Id is generated for the record and we can get that Id when we retrieve our data. The Id comes in useful when we need to update data we have on Firebase as shown below:
public class StudentService
{
  ...
  public async Task UpdateStudent(string id, Student student)
  {
     var students = await DatabaseClient
       .Child("students")
       .Child(id)
       .PutAsync(student);
  }
}
Removing an entry is just as easy, we just need the id generated for the entry we need to remove. Update your StudentService class with a method to aid removal as shown below:
public class StudentService
{
  ...
  public async Task RemoveStudent(string id)
  {
     var students = await DatabaseClient
       .Child("students")
       .Child(id)
       .DeleteAsync();
  }
}
Further Reading
The complete source for the samples shown can be found on GitHub. While I touched on the basics of accessing data from firebase, the FirebaseDatabase.net library offers support for more advanced data query options such as LimitToFirst and OrderByKey amongst others. It also offers data streaming similar to that of the official libraries with the System.Reactive.Linq namespace. You can find more in-depth documentation at the project GitHub page.
That's it for now,
Cheers.
[HOW TO] Generate .NET Core code coverage with Coverlet
6 years ago · 3 minutes read
Brief Intro
In the early days of .NET Core, there was a reliable, built-in testing system but no code coverage tool to gain insight into the scope of testing being done. While the full .NET framework was spoilt for choice when it came to the selection of code coverage tools, from OpenCover to dotCover, there was little to nothing available for the nascent .NET Core.
Doing some research in those early days, it didn't seem like any of the established coverage tool developers were in a rush to add .NET Core support and who could blame them? There was no evidence this was not going to end up going the way of Silverlight, so I understand why they hedged their bets.
Coverlet
tonerdo along with some of the awesome .NET community created an open-source code coverage tool called Coverlet. This tool integrates itself into the msbuild system, instruments code and cam generate coverage in a number of supported formats.
Installation
To set your project up for coverage, in your test project folders i.e for each test project, run the following in your terminal:
dotnet add package coverlet.msbuild
dotnet add package Microsoft.NET.Test.Sdk
With that, you are set to run tests and generate coverage.
Basic Usage
If you are looking to generate coverage data for a single test project or generate separate coverage files for multiple tests, then following simple call would suffice. It generates coverage in JSON format and outputs a coverage file.
dotnet test /p:CollectCoverage=true
If you want to specify the output format, then an additional flag needs to be added. The formats supported currently are json, lcov, opencover, cobertura and teamcity. For example, to generate coverage in the opencover format, run the following:
dotnet test /p:CollectCoverage=true /p:CoverletOutputFormat=opencover
To generate coverage in multiple formats, separate the required formats by a comma (,). For example, to generate both lcov and json formats, we run the following:
dotnet test /p:CollectCoverage=true /p:CoverletOutputFormat=lcov,json
Further flags and options and documentation can be found at the project wiki here.
Handling coverage for split test projects
There may be a situation where you'd want to generate a single coverage file from multiple test projects, for example, reporting the coverage of an entire project instead of the component bits, then it gets a bit verbose but coverlet still covers (terrible pun, I know) us. For example, if I have three test projects, descriptively named Test1, Test2 and Test3 and I want to generate a single coverage file in the opencover format, then I have to run the following in sequence:
dotnet test Test1/Test1.csproj  /p:CollectCoverage=true /p:CoverletOutput="./results/"
dotnet test Test2/Test2.csproj  /p:CollectCoverage=true /p:CoverletOutput="./results/"  /p:MergeWith="./results/coverage.json"
dotnet test Test3/Test3.csproj  /p:CollectCoverage=true /p:CoverletOutput="./results/"  /p:MergeWith="./results/coverage.json" /p:CoverletOutputFormat="opencover"
To explain what the above process does. First, we have to generate the coverage in the json form an only convert to our desired format (in this case lcov when we get to the last test project. Second, we need to have a specified folder where all the test reports get dumped so they can be combined, in this case out output folder is ./results. And finally as earlier mentioned, we specify our desired output format on the last test run ad that does the combining.
Hope this helps. Cheers.
Create A URL Shortener With ASP.NET Core and MongoDB
6 years ago · 6 minutes read

What is a URL Shortener
A URL Shortener as Rebrandly would out it is "a simple tool that takes a long URL and turns it into whatever URL you would like it to be". And that is all there is to it. A URL Shortener takes a URL, usually, a long one and converts it into a shorter URL.
Why use a URL Shortener
Using a URL shortener comes with a number of advantages:
- In creating shorter URLs they are more easily remembered.
- The shorter URLs allow for links to be shared via social media platforms that have hard text limits such as Twitter.
- For a number of commercial shortening services, you can track clicks and view compiled data on each generated link.
- Shortened URLs usually just look "better" or more aesthetically pleasing if we want to get technical 😄
Scope of this article
The aim of this article is to demonstrate interfacing with MongoDB using the first party Mongo client library as well as optimizations we can add to boost the performance of our application.
Technologies
If the title of the article was not a dead giveaway, we would be employing the following technologies:
- .NET Core (Runtime)
- ASP.NET Core (High-performance web framework)
- MongoDB (Document oriented NoSQL database)
- Mongo Client (Official MongoDB client library for .NET)
- ShortId (Short URL-safe id generator for .NET)
Prerequisites
To adequately follow this guide, you would need two things installed and running on your local machine
- The .NET Core SDK, if you do not have it installed, you can follow the installation instructions here
- The MongoDB Database Server, if you do not have it installed either, you can get the community (free edition) from here
Setting up
First, we create our application folder by running
mkdir url-shortener
Next, we change directories by running
cd url-shortener
Next, we create a new ASP.NET Core project
dotnet new mvc
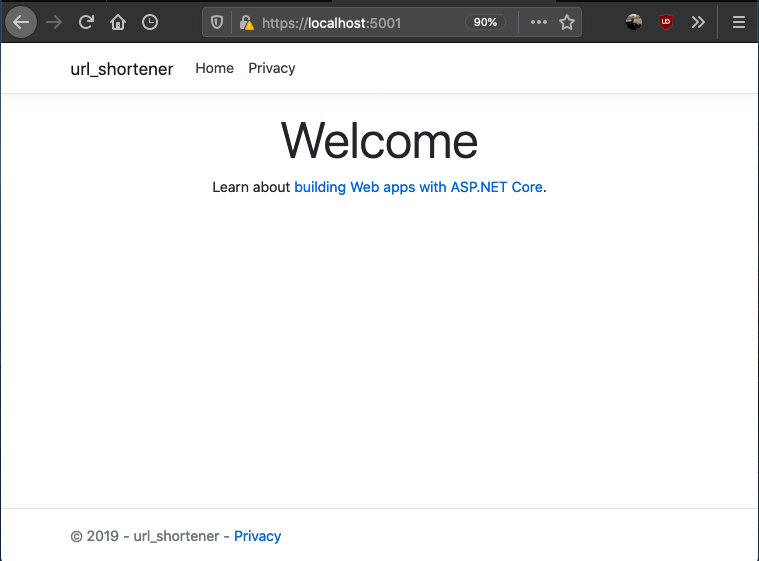
The line above creates a new MVC project. You can choose to use classic Razor pages or any other SPA framework offered by the CLI. To see the scaffolded app in action, you can run
dotnet run
if everything works as expected, your application should be running on http://localhost:5000 and if you visit the url you should see
Setting the server up
At this point, you can open the project up in your favourite code editor or Integrated Development Environment. For some, it is VSCode, Visual Studio, Sublime Text, or Atom (I don't judge). For me, the IDE of choice is JetBrains Rider.
You should have a folder structure similar to that shown below
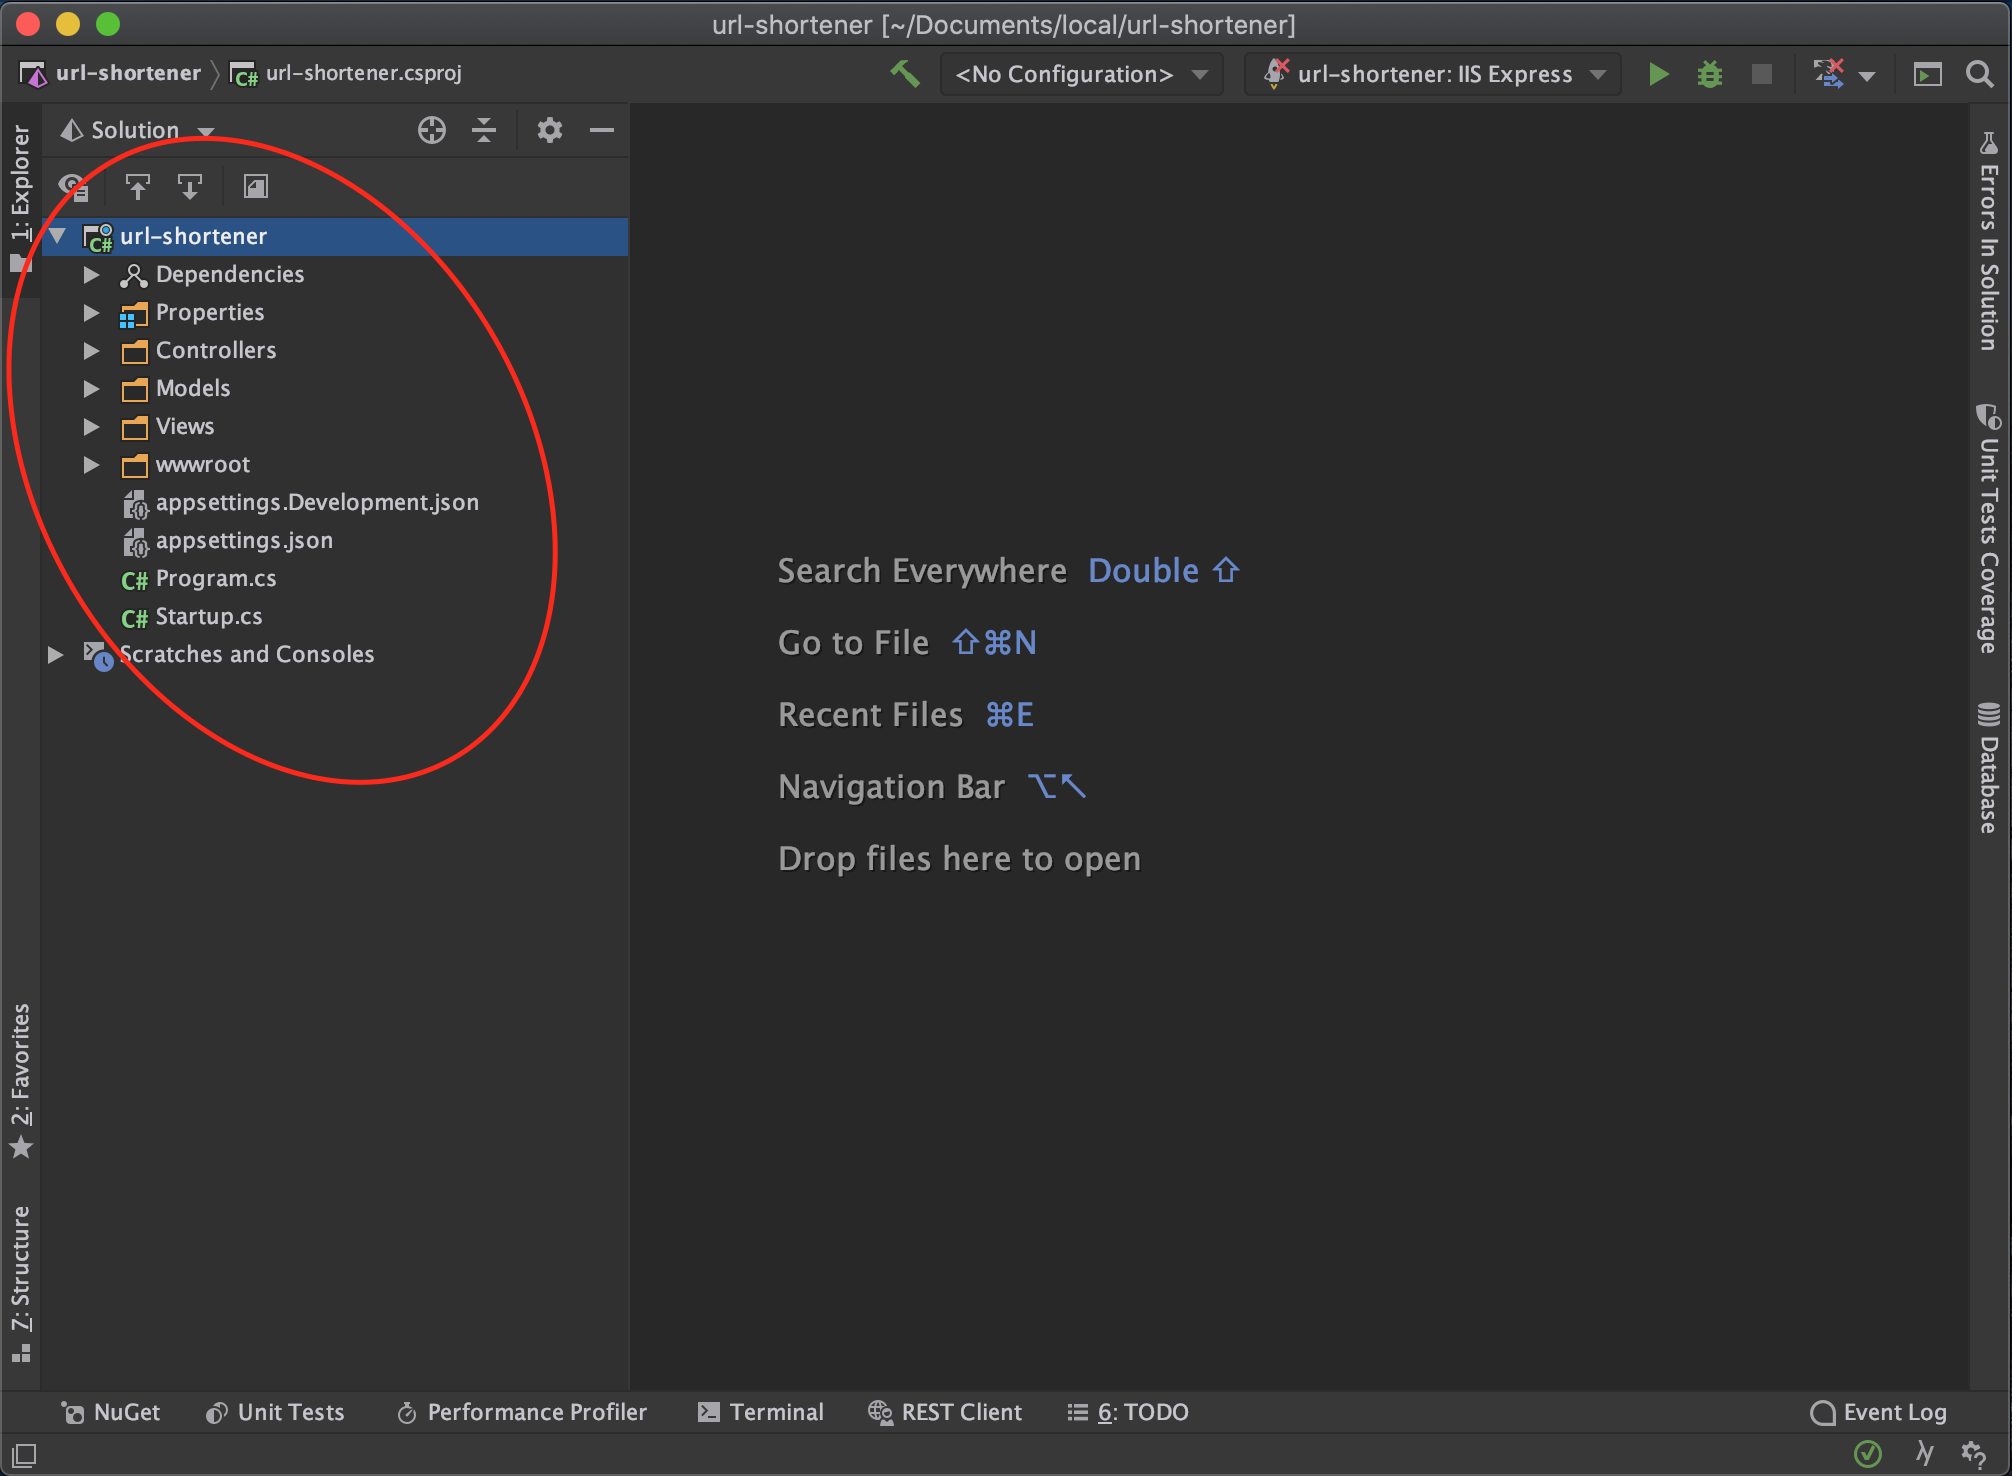
Next, we install the packages we need to get our service up and running
dotnet add package MongoDb.Driver
dotnet add package shortid
Next, we want to create our data model. First off create a directory named Models and a class file named ShortenedUrl.cs and add the following details
using MongoDB.Bson;
using MongoDB.Bson.Serialization.Attributes;

public class ShortenedUrl
{
   [BsonId]
    public ObjectId Id { get; set; }
    public string OriginalUrl { get; set; }
    public string ShortCode { get; set; }
    public string ShortUrl { get; set; }
    public DateTime CreatedAt { get; set; }
}
Next, we set up Mongo database in our controller. In the HomeController add the following
using MongoDB.Driver;

...
public class HomeController: Controller
{
        private readonly IMongoDatabase mongoDatabase;
        private const string ServiceUrl = "http://localhost:5000";

        public HomeController()
        {
            var connectionString = "mongodb://localhost:27017/";
            var mongoClient = new MongoClient(connectionString);
            mongoDatabase = mongoClient.GetDatabase("url-shortener");
        }
}
In the case above, url-shortener is the database name given and it can be changed to anything else. The next step for us is to create a controller method that would take in the long url and generate a short URL. This particular method checks the database first and then if the url has not been shortened before then we shorten and generate a URL.
using MongoDB.Driver.Linq;
using shortid;
using url_shortener.Models;
...
public class HomeController : Controller
{
        ...
        [HttpPost]
        public async Task<IActionResult> ShortenUrl(string longUrl)
        {
            // get shortened url collection
            var shortenedUrlCollection = _mongoDatabase.GetCollection<ShortenedUrl>("shortened-urls");
            // first check if we have the url stored
            var shortenedUrl = await shortenedUrlCollection
                .AsQueryable()
                .FirstOrDefaultAsync(x => x.OriginalUrl == longUrl);

            // if the long url has not been shortened
            if (shortenedUrl == null)
            {
                var shortCode = ShortId.Generate(length: 8);
                shortenedUrl = new ShortenedUrl
                {
                    CreatedAt = DateTime.UtcNow,
                    OriginalUrl = longUrl,
                    ShortCode = shortCode,
                    ShortUrl = $"{ServiceUrl}/{shortCode}"
                };
                // add to database
                await shortenedUrlCollection.InsertOneAsync(shortenedUrl);
            }

            return View(shortenedUrl);
        }
}
Next, we have to support redirecting to long URLs when the short URL link is entered into the address bar. And for that, we add an override to the default Index route that supports having a short code. The implementation for that controller endpoint is as follows
        [HttpGet]
        public async Task<IActionResult> Index(string u)
        {
            // get shortened url collection
            var shortenedUrlCollection = _mongoDatabase.GetCollection<ShortenedUrl>("shortened-urls");
            // first check if we have the short code
            var shortenedUrl = await shortenedUrlCollection
                .AsQueryable()
                .FirstOrDefaultAsync(x => x.ShortCode == u);

            // if the short code does not exist, send back to home page
            if (shortenedUrl == null)
            {
                return View();
            }

            return Redirect(shortenedUrl.OriginalUrl);
        }
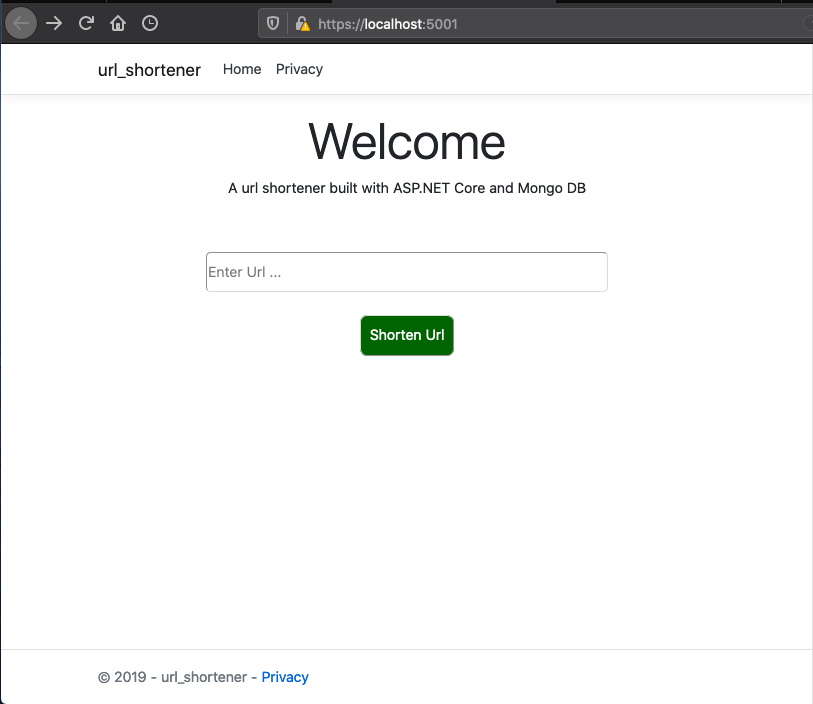
Setting Up The Client Side
To receive the long url, we need to add an input control and a button to send the data to the server-side from. The home page is implemented as follows
@{
    ViewData["Title"] = "Home Page";
}

<div class="text-center">
    <h1 class="display-4">Welcome</h1>
    <p>A url shortener built with ASP.NET Core and Mongo DB</p>
</div>

<div style="width: 100%; margin-top: 60px;">
    <div style="width: 65%; margin-left: auto; margin-right: auto;">
        <form id="form" style="text-align: center;" asp-action="ShortenUrl" method="post">
            <input
                type="text"
                placeholder="Enter Url ..."
                style="width: 100%; border-radius: 5px; height: 45px;"
                name="longUrl"/>

            <button
                style="background-color: darkgreen; color: white; padding: 10px; margin-top: 25px; border-radius: 8px;"
                type="submit">
                Shorten Url
            </button>
        </form>
    </div>
</div>
To show the generated URL, we need a new view named ShortenUrl.cshtml with the following content under the Views directory
@model ShortenedUrl;

@{
    ViewData["Title"] = "Shortened Url";
}

<div style="width: 100%; padding: 30px;">
    <div>
        <div>Short Code: @Model.ShortCode</div>
        <div>Short Url: @Model.ShortUrl</div>
        <div>Long Url: @Model.OriginalUrl</div>
    </div>
</div>
A sample URL generated response would look like
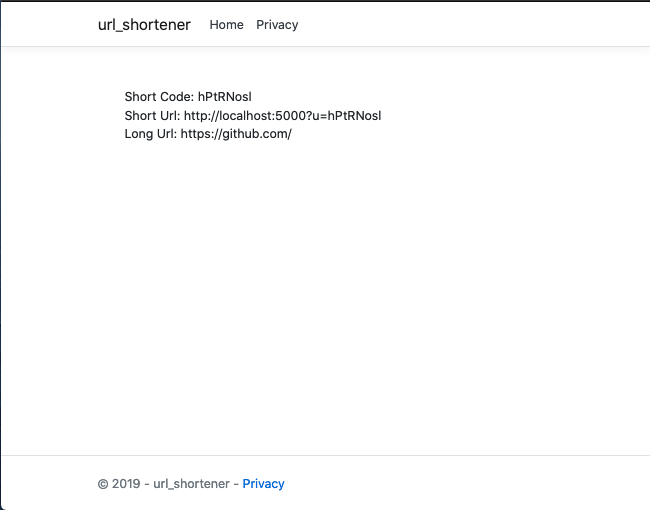
The entire source code for this article can be found here. In a follow-up article, we would benchmark the current implementation and take steps to improve performance.
Till the next one,
Adios
[HOW TO] Working with vCardLib
7 years ago · 1 minute read
This documentation page is now obsolete, newer documentation with all new changes can be found on the dedicated documentation page

vCardLib is a library written entirely in C# for .NET. It is a library that enables contacts to be read from a VCF file. It can read multiple contacts from a single vCard file or single contacts from a single vcf file. The contacts are read into a vCardCollection object which is a collection of vCard objects. These vCard objects have properties that store contact information. As at now, the library supports only vCard version 2.1, support for versions 3.0 and 4.0 will be added shortly. Also, the photo extraction code is buggy and has been extracted from the production code, to see it, visit the GitHub link https://www.github.com/bolorundurowb/VCF-Reader
To make use of the library, add it to the project references and
using vCardLib;
...

var contacts = vCard.FromFile(@"vcf/ file /path");
foreach(var contact in contacts)
{
   \\ statements
}
The library can also be gotten from Nuget at https://www.nuget.org/packages/vCardLib.dll/
To see a test application using this library https://sourceforge.net/projects/vcf-reader/
What the Git HEAD is
7 years ago · 1 minute read

In my crash course introduction to Git and all its terminologies and commands, no term was as confusing as the word ‘HEAD’. Different people had apparently differing opinions of what the term meant which didn’t help with my conundrum.
One day and a gazillion webpages later, I have a more holistic understanding of what the HEAD means. I’ll state that the differing opinions mentioned were correct but not complete.
So lets get to it. What is the HEAD?
- In most cases, the HEAD refers to or points to the latest commit in the current branch that you are working on. For example, if you are on the master branch, the HEAD is the latest commit in the master branch, if you switch to a feature-branch, the HEAD switches to the latest commit in the feature-branch.
- In other rarer cases, the HEAD refers to or points to a particular commit or tag and is called a detached HEAD.
I hope this was informative.
Cheers!