Login
Login
Winner's Excogitations
A chronicle of the thoughts, learning experiences, ideas and actions of a tech junkie, .NET, JS and Mobile dev, aspiring entrepreneur, devout Christian and travel enthusiast.
Getting Started With ASP.NET Core (Part 1)
Getting Started With ASP.NET Core (Part 1)
ASP.NET Core is the new direction that Microsoft is taking their web technologies. It is still in its early stages but is showing a lot of promise. Between versions 1.0 and 1.1, the Kestrel server has shown significant speed improvements. ASP.NET Core is a significant departure from the previous generation of ASP.NET in that it was (and currently is) a community-driven and developed project whose source code can be found on GitHub. ASP.NET Core also has the advantage of being very modular, this means that it can be run on IIS Servers, or the newer, lighter Kestrel Server. Another advantage ASP.NET Core has is that it shares a single set of libraries for creating Web API and Web applications. The most important advantage is that unlike traditional ASP.NET, ASP.NET Core is fully cross-platform.
At the end of this tutorial, we’ll create a full-fledged Notes application and deploy it to Heroku, but for this part, we’ll start with a basic application which would show “Hello World” in the browser.
We would be using the ASP .NET Core yeoman generator to spin up our web application. If you don’t have the ASP .NET Core generator, you can install it via npm. The following dependencies are required:
.NET Core SDK which can be gotten from here
Node JS which can be gotten from here
Yeoman which can be installed by running
npm install -g yoBower which can be installed by running
$ npm install -g bowerASP .NET yeoman generator by running
$ npm install -g generator-aspnet
Once you’re all set, run the following command;
$ yo aspnet
You should see the following screen;
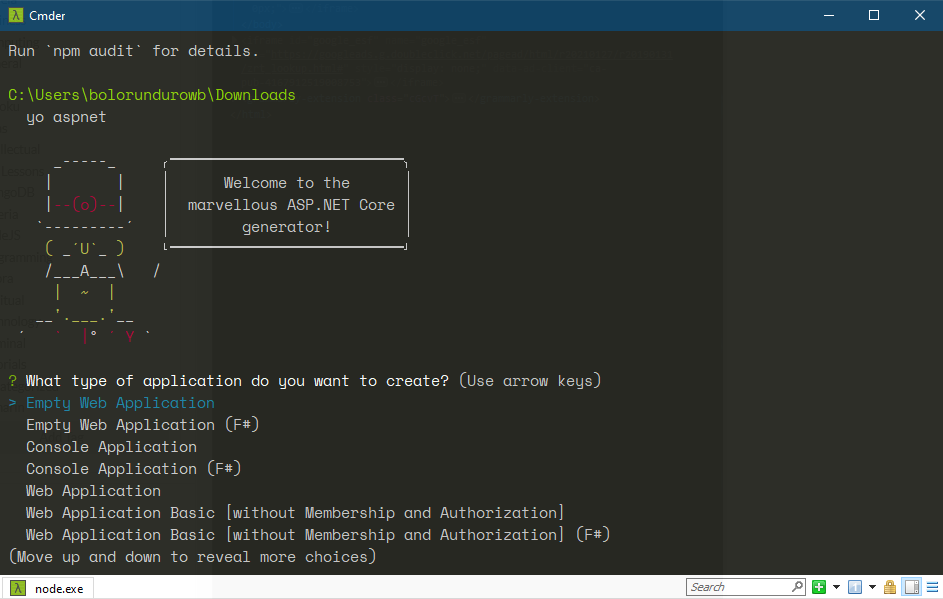
Select the “Empty Web Application” option using the up and down arrow keys and accept with the Enter key.
Set your app name, for this tutorial, we’ll use cookieauth.
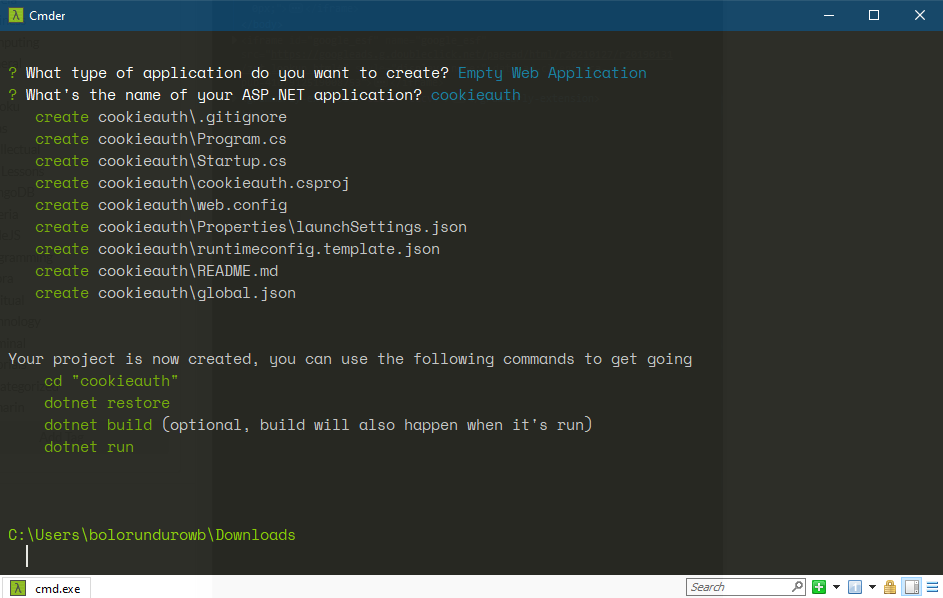
After that, a set of files would be created in the folder cookieauth
Next change directory to the cookieauth folder using:
$ cd cookieauth
Run the commands
$ dotnet restore
To get all required libraries from Nuget
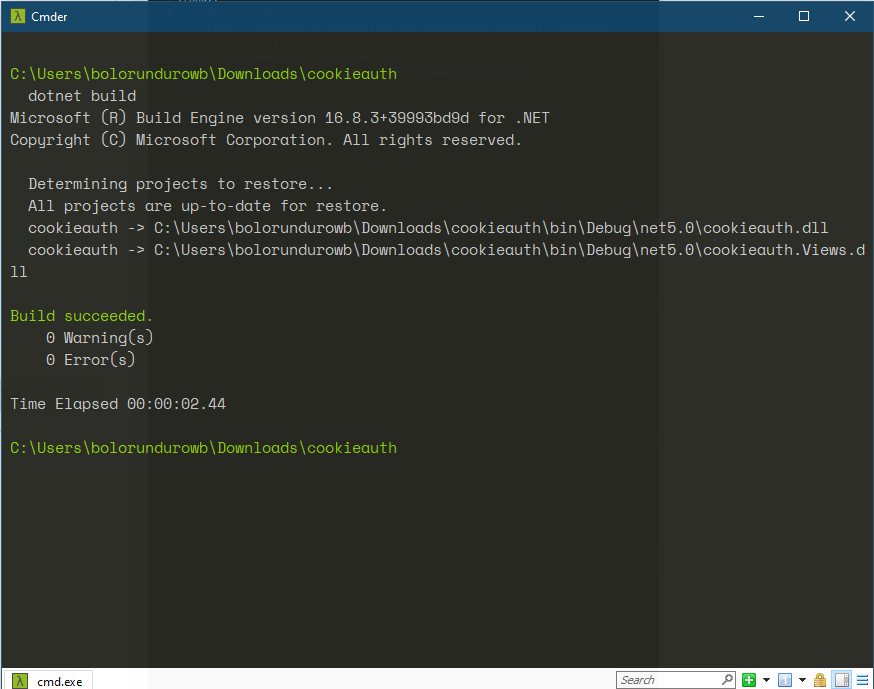
$ dotnet build
To compile the existing code to an executable
$ dotnet run
This would run the empty app on the default port (5000) and can be accessed via the URL http://localhost:5000
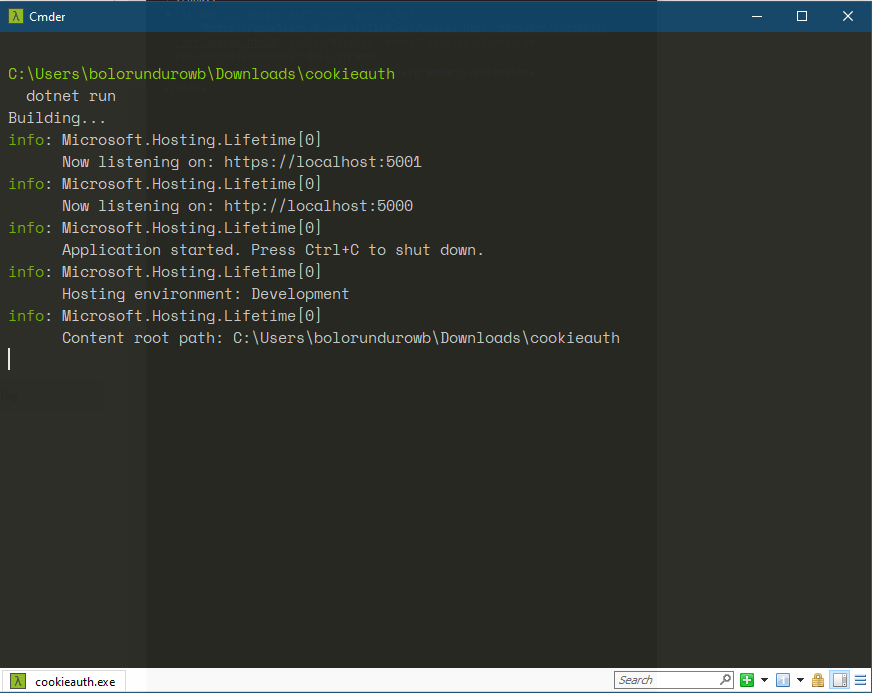
If you visit HTTP://localhost:5000 in your browser, you should see
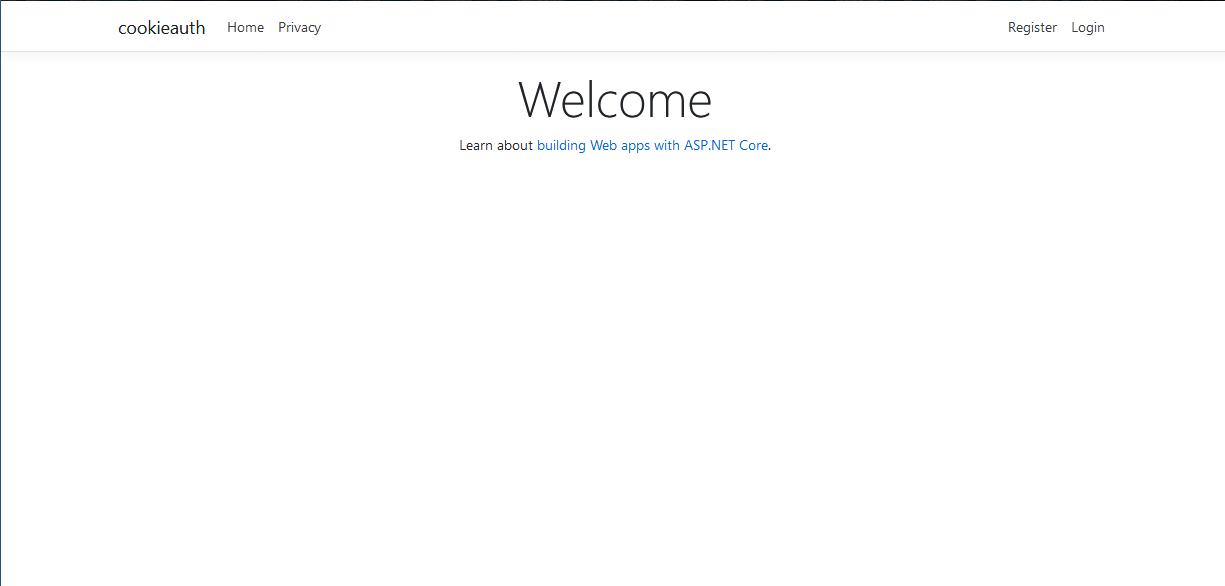
That would be it, for this. Check out the next tutorial in this series.
Cheers
Share on:
[HOW TO] Deploy your ASP.NET Core 1.x app to Heroku
A how to on deploying an ASP.NET Core 1.x app to Heroku
GIT - For The Absolute Beginner (Part 2)
Second in a series on the common git commands to make the version control processes a bit easier to handle


Comments