Login
Login
Winner's Excogitations
A chronicle of the thoughts, learning experiences, ideas and actions of a tech junkie, .NET, JS and Mobile dev, aspiring entrepreneur, devout Christian and travel enthusiast.
[HOW TO] Add CORS Support to your Fastify app
4 years ago · 1 minute read

Introduction
I have been developing web APIs with ExpressJS running on Node for a few years and while I had heard about Fastify, I hadn't ever felt the need to use it until I decided to create a mini language and framework benchmark and decided to take a look and its performance blew me away.
Since then, I decided to develop a new project using the Fastify framework and one of the first things that need to be added to a new API is support for Cross-Origin Resource Sharing (CORS). For those who may not know what CORS is, Mozilla defines CORS as " an HTTP-header based mechanism that allows a server to indicate any origins (domain, scheme, or port) other than its own from which a browser should permit loading resources". Which, when simplified is a system that allows your API to handle requests from any source based on the CORS policy you create.
For this guide, the assumption is made that you already have your Fastify project set with at least basic API initialization logic set.
Usage
To start, you would need the fastify-cors package from NPM. Depending on your package manager, you can run any of the following commands:
npm i fastify-cors
or
yarn add fastify-cors
In the file that holds your API initialization logic, some may name theirs main.js, server.js or index.js, import the cors package you just installed:
const fastify = require('fastify');
...
const cors = require('fastify-cors');
With that done, we register it with Fastify as middleware as follows:
fastify.register(cors, { });
If you want to customize the functions of the middleware, you can change those parameters by adding the updated fields to the second parameter passed to the fastify.register() call.
fastify.register(cors, {
  // make customizations here
});
Some of the properties that can be seen on the official documentation page
Conclusion
I generally feel excited to share the things I learn with anyone who'll listen and if this has been helpful, feel free to let me know!
Cheers!
[HOW TO] Convert An Angular Component Into HTML
5 years ago · 3 minutes read

Introduction
Before we dig into the technical, permit me to reminisce a little. My reason for starting this website and the associated blog was to share my learning experiences and thoughts. If there is anything I have learnt along my software development journey, it is that when you are dealing with mature technologies and frameworks, most questions have been asked, most bugs have been reported and fixes or workarounds have been detailed and a thousand and one blog posts and articles would have been written about every minutia.
That has been my experience working with C#, JavaScript and Angular, but on some rare occasion, you find yourself trying to accomplish some arcane task, do research and not find much to go on.
A situation quite like that is what led to this post. While working on the dimmer module on the Ngx Semantic project, I found that I needed to instantiate a defined component, set its inputs and then retrieve the generated HTML to manually insert into the DOM at my convenience. I was able to find a solution which is what I'd detail below.
Setup
Let's define a sample component that takes one input. This would be the component that we need to programmatically instantiate and render.
import {Component, Input} from '@angular/core';

@Component({
  selector: 'app-sample',
  template: `<div>Hello world. {{input}}</div>`
})
export class SampleComponent {
  @Input() input: string;
}
NOTE: if you are running Angular 10 and above you do not need to add the SampleComponent to the entry components of your module.
Implementation
With that done, in the component or directive where you need to manually render the sample component, you would need to inject a number of dependencies via the constructor as shown:
import {ApplicationRef, ComponentFactoryResolver, ApplicationRef} from '@angular/core';
...
constructor(private factoryResolver: ComponentFactoryResolver, private injector: Injector,
            private applicationRef: ApplicationRef)  {
}
Let's define a function to actually do the manual component rendering. The function would be renderComponent(). I would add comments in the function implementation detailed below to explain each step:
private renderComponent() {
  // generate a factory that would help in creating our component
  const factory = this.factoryResolver.resolveComponentFactory(SampleComponent);

  // create an instance of the sample component
  const component = factory.create(this.injector);

  // since we need to modify inputs on the component, we extract the instance and make our changes
  component.instance.input = 'John';

  // we attach the component instance to the angular application reference
  // this step is necessary as it allows for our components view to be dirty-checked
  this.applicationRef.attachView(component.hostView);

  // the step we have been building to
  // we pull the rendered node from the components host view
  const renderedHtml = (component.hostView as EmbeddedViewRef<any>).rootNodes[0] as HTMLElement;
}
The content in the renderedHtml variable is the HTML representation of the component with the provided inputs. For the example above, the HTML would look something like:
<div>Hello World. John</div>
Conclusion
That's about it, I stumbled onto a solution for a very niche problem and shared as I think it may be useful to someone else.
Till next time, happy coding.
Cheers!
[HOW TO] Run A Geospatial Search With EF Core and Npgsql
5 years ago · 3 minutes read

Introduction
As a developer, progressing in your career means building more and more complex applications with more strenuous requirements. That may include applications that have geospatial requirements. A common scenario you may face is finding entities which fall within a given geographic boundary provided by Google Maps or any other mapping service.
For this guide, we'd be examining a hypothetical scenario where we have a bunch of restaurant entities that we need to display on a map. We'd be demonstrating this using C#, Entity Framework Core, Npgsql and Postgres.
Setup
For this, I'll assume that you have the .NET Core runtime installed on your local machine (if you don't, then this installation walkthrough should help), at some experience with C# and .NET Core as well as having an ASP.NET Core Project setup.
If you don't already have Entity Framework and Npgsql installed in your projects, then you'd need to run these commands to get the packages installed:
$ dotnet add package Microsoft.EntityFrameworkCore
$ dotnet add package Npgsql.EntityFrameworkCore.PostgreSQL
we also need to add support for geospatial types by adding this package as well:
$ dotnet add package Npgsql.EntityFrameworkCore.PostgreSQL.NetTopologySuite
For any project utilizing Entity Framework, we'd need a database context. That is a specialized class that details the collections that our database "understands" or has "context" on. I won't be going into a lot of detail about database contexts as I assume that you understand that fairly well already. So for this guide, we'd have a database context file called AppDbContext.cs and should contain:
using Microsoft.EntityFrameworkCore;

public class AppDbContext : DbContext
{
  public DbSet<Restaurant> Restaurants { get; }

  public AppDbContext(DbContextOptions<Restaurant> options): base(options)
  {
  }

  // you'd also need the PostGIS extension added
  protected override void OnModelCreating(ModelBuilder modelBuilder)
  {
    modelBuilder.HasPostgresExtension("postgis");
  }
}
If you copied and pasted the code above into your text editor or IDE, you would most definitely have some red squiggly lines under the Restaurant references as that class does not exist yet. We'd be adding that as well. To our Restaurant.cs file, we add the following:
using NetTopologySuite.Geometries;

public class Restaurant
{
  public int Id { get; set; }

  public string Name { get; set; }

  // to persist the geo location of each restaurant
  public Point Location { get; set; }
}
You'd also need to ensure that the database connection configuration is setup to enable querying for and by geospatial info. So in your Startup.cs file, you need to have a line akin to:
...

public void ConfigureServices(IServiceCollection services)
{
  ...

  services.AddDbContext<AppDbContext>(options =>
    options.UseNpgsql("<your db connection string>", builder =>
    {
      builder.UseNetTopologySuite();
    }));

  ...
}
Querying
Usually, when working with mapping services like Google Maps or MapBox or Bing Maps, the visible bounds of the map are provided as the northern latitude, the southern latitude, the east longitude and west longitude as decimal values. With those values given, we can query against our database to find out which of our restaurants fall within the visible map view.
To query, we need to construct coordinates of the four corners of the view as well as create a polygon defini9ng the area to search. With that, our search method would look something like this:
// populate this through DI via your constructor
private readonly AppDbContext _dbContext;
private readonly GeometryFactory _geometryFactory =
   new(new PrecisionModel(), 4326); // 4326 represents WGS 84

...

public async Task<List<Restaurant>> GetRestaurantsInView(double north, double east, double south, double west)
{
  var nw = new Coordinate(west, north);
  var ne = new Coordinate(east, north);
  var sw = new Coordinate(west, south);
  var se = new Coordinate(east, south);
  var polygon = new Polygon(new LinearRing(new[] {ne, nw, sw, se, ne}), Array.Empty<LinearRing>(),
    _geometryFactory);

  return _dbContext.Restaurant
    .Where(x => x.Location.Within(polygon))
    .ToListAsync();
}
If you wanted to exclude some interior section of the given area, then you'd need to replace Array.Empty<LinearRing>() with the dimensions of the interior sections.
Conclusion
That's about it. I created this guide because I could not find a simple walkthrough around querying against geospatial fields and the library documentation pages don't help much.
Cheers.
Xamarin Forms: Handling User Preferences
6 years ago · 3 minutes read

Introduction
As you build a mobile app, you may want to save small bits of user data and/or preferences usually as a key-value pair. For a while, there was no Xamarin cross-platform way of getting that done, so platform-specific code had to be written. With the introduction of Xamarin Essentials, a number of commonly accessed functionality has been made cross-platform. In this guide, we'll walk through persisting some user data in a Xamarin Forms application. NOTE: If you want to save sensitive data, use Secure Storage instead.
Setup
Using your favourite editor, create a Xamarin Forms project. I am using JetBrains Rider as my IDE and naming my project xamarin-forms.
Installing the library
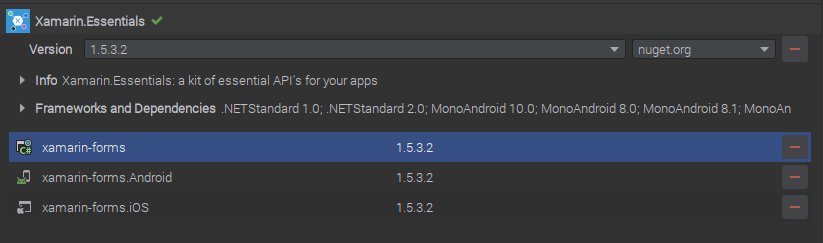
To make use of the Xamarin Essentials library, it has to be installed in the PCL/NET Standard project as well as any platform-specific projects. For my own IDE, this is the view:
After the installation is complete, if there is an Android target project then we need to update the MainActivity.cs file (or any other Activity file that is the launch target) with the following:
...
base.OnCreate(savedInstanceState);
// add the line below to your file
Xamarin.Essentials.Platform.Init(this, savedInstanceState);
...
Persisting data
For this example, I want to save the current Date and Time in the user's preferences when I call a method. The logic for my method is shown below:
using Xamarin.Essentials;
...
public void SaveToPreferences()
{
    Preferences.Set("app_CurrentDate", DateTime.UtcNow);
}
In this case, we saved a DateTime type to the preferences but the library has overloads to support a number of primitives including bool, double, int, float, long and string.
Retrieving saved data
To retrieve the data I persisted, I would add in a method to get the date I saved. The method is shown below:
protected DateTime ReadSavedPreference()
{
    var date = Preferences.Get("app_CurrentDate", DateTime.MinValue);
    return date;
}
The more astute of you would have noticed the DateTime.MinValue values provided to the Get method. That is the default that the method returns if the provided key does not exist. For our example, if we have not saved a value to the app_CurrentDate key, then the default .NET minimum DateTime value (1/01/0001 0:00:00 AM) would be returned.
Cleaning up
If at any point we no longer need the data tied to a certain key, we can remove the data. In the context of the data, we have saved in the previous examples. if we were to create a method to remove the date we saved, the method implementation should look like :
public void RemoveSavedDate()
{
    Preferences.Remove("app_CurrentDate");
}
If we want to remove all saved app preferences, the Xamarin Essentials library provides us with a handy method to accomplish that as well.
Preferences.Clear();
Till the next one,
Cheers
Xamarin Forms: How To Use Custom Fonts
6 years ago · 4 minutes read
Introduction
There are a number of reasons why you would want to use a font other than the default one provided by the OS when developing mobile applications with Xamarin Forms. Whether it is for branding purposes or to simply add some pizzazz to the UI of the app, up until the release of Xamarin Forms 4.6, the process was tedious and contrived to say the least. With the release of version 4.6, the process has been simplified a lot.
For this walkthrough, I would be demonstrating how to use the simplified font embedding process using a common enough scenario. Adding in font icons from the popular Font Awesome pack. They provide quite the number of icons and they claim to be the "web's most popular icon set" and rightfully so if may add.
Downloading the font files
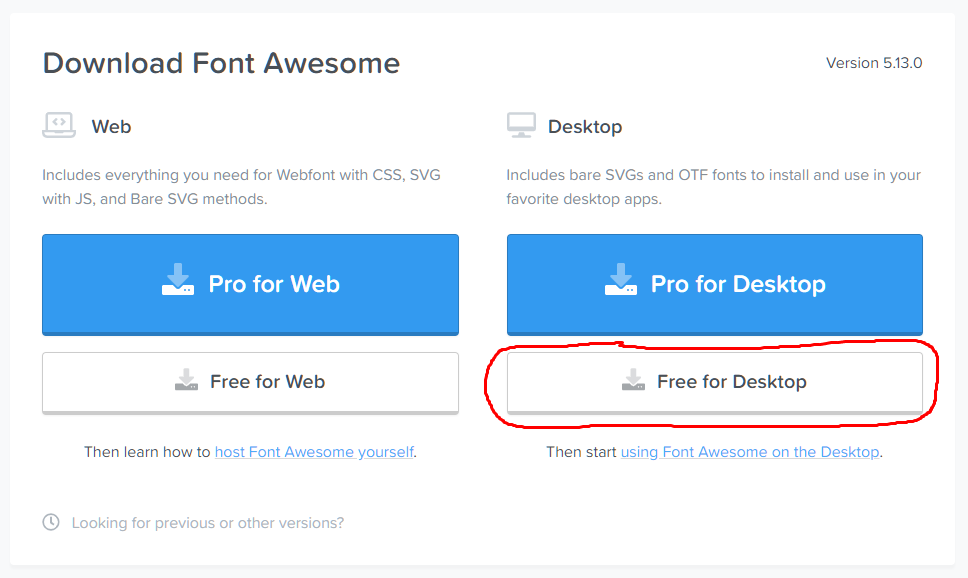
Font files come in a number of formats but as at the time of writing, I have been able to verify support for ttf (TrueType font) and otf (OpenType font) files. For our particular scenario, to get the font files, we head over to https://fontawesome.com/download and click on the "Free for Desktop" button. That downloads a .zip file to your computer.
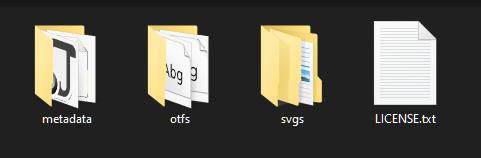
Next, to access the font files, we need to extract the contents of the downloaded zip file. Locate the downloaded file and extract the contents using the tool of your choice. The extracted contents should look something like this:
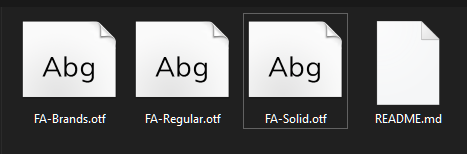
If we drill deeper into the otfs folder, we should see content like this:

To add simplicity for later work, I renamed the files to make them easier to remember and work with. Font Awesome 5 Brands-Regular-400.otf became FA-Brands.otf. Font Awesome 5 Free-Regular-400.otf became FA-Regular.otf. Font Awesome 5 Free-Solid-900.otf became FA-Solid.otf. After all the renamings, my otfs folder now looks like this:
Importing the font files
Before importing the font files into our projects, we need to create the necessary folder structure. In your shared PCL or NET Standard project, add a Resources folder and inside that, add a Fonts folder. After that, your folder structure should have something like this:
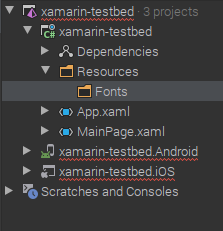
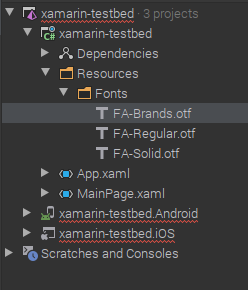
Import the newly downloaded and renamed .otf font files into the Fonts folder. NOTE: For each of the imported font files, ensure the Build Action is set as Embedded Resource. Your project should now look like this:
Consuming our new fonts
Next, we export our fonts. To do that, open your App.xaml.cs or your AssemblyInfo.cs file and above the namespace declaration, add the following:
[assembly: ExportFont("FA-Brands.otf", Alias = "FAB")]
[assembly: ExportFont("FA-Regular.otf", Alias = "FAR")]
[assembly: ExportFont("FA-Solid.otf", Alias = "FAS")]
I added aliases for all my exported fonts. This would make it easier to reference them in my XAML files. To display the artstattion font in my app, I grab the hex code from the font-awesome page

And then set up a Label to display the glyph as shown. NOTE: the glyph hex code has to be prefixed with a &#x and postfixed with a ; for it to be considered valid by Xamarin Forms.
<Label
Text=""
FontFamily="FAB"
HorizontalOptions="Center"
FontSize="50"
VerticalOptions="CenterAndExpand" />
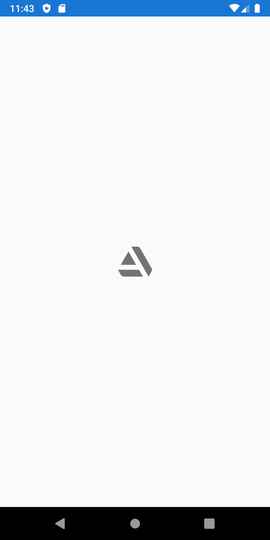
Here is my final result.
I hope this was informative. Till the next one.
Cheers