Login
Login
Winner's Excogitations
A chronicle of the thoughts, learning experiences, ideas and actions of a tech junkie, .NET, JS and Mobile dev, aspiring entrepreneur, devout Christian and travel enthusiast.
[HOW TO] Generate .NET Core code coverage with Coverlet
6 years ago · 3 minutes read
Brief Intro
In the early days of .NET Core, there was a reliable, built-in testing system but no code coverage tool to gain insight into the scope of testing being done. While the full .NET framework was spoilt for choice when it came to the selection of code coverage tools, from OpenCover to dotCover, there was little to nothing available for the nascent .NET Core.
Doing some research in those early days, it didn't seem like any of the established coverage tool developers were in a rush to add .NET Core support and who could blame them? There was no evidence this was not going to end up going the way of Silverlight, so I understand why they hedged their bets.
Coverlet
tonerdo along with some of the awesome .NET community created an open-source code coverage tool called Coverlet. This tool integrates itself into the msbuild system, instruments code and cam generate coverage in a number of supported formats.
Installation
To set your project up for coverage, in your test project folders i.e for each test project, run the following in your terminal:
dotnet add package coverlet.msbuild
dotnet add package Microsoft.NET.Test.Sdk
With that, you are set to run tests and generate coverage.
Basic Usage
If you are looking to generate coverage data for a single test project or generate separate coverage files for multiple tests, then following simple call would suffice. It generates coverage in JSON format and outputs a coverage file.
dotnet test /p:CollectCoverage=true
If you want to specify the output format, then an additional flag needs to be added. The formats supported currently are json, lcov, opencover, cobertura and teamcity. For example, to generate coverage in the opencover format, run the following:
dotnet test /p:CollectCoverage=true /p:CoverletOutputFormat=opencover
To generate coverage in multiple formats, separate the required formats by a comma (,). For example, to generate both lcov and json formats, we run the following:
dotnet test /p:CollectCoverage=true /p:CoverletOutputFormat=lcov,json
Further flags and options and documentation can be found at the project wiki here.
Handling coverage for split test projects
There may be a situation where you'd want to generate a single coverage file from multiple test projects, for example, reporting the coverage of an entire project instead of the component bits, then it gets a bit verbose but coverlet still covers (terrible pun, I know) us. For example, if I have three test projects, descriptively named Test1, Test2 and Test3 and I want to generate a single coverage file in the opencover format, then I have to run the following in sequence:
dotnet test Test1/Test1.csproj  /p:CollectCoverage=true /p:CoverletOutput="./results/"
dotnet test Test2/Test2.csproj  /p:CollectCoverage=true /p:CoverletOutput="./results/"  /p:MergeWith="./results/coverage.json"
dotnet test Test3/Test3.csproj  /p:CollectCoverage=true /p:CoverletOutput="./results/"  /p:MergeWith="./results/coverage.json" /p:CoverletOutputFormat="opencover"
To explain what the above process does. First, we have to generate the coverage in the json form an only convert to our desired format (in this case lcov when we get to the last test project. Second, we need to have a specified folder where all the test reports get dumped so they can be combined, in this case out output folder is ./results. And finally as earlier mentioned, we specify our desired output format on the last test run ad that does the combining.
Hope this helps. Cheers.
Create A URL Shortener With ASP.NET Core and MongoDB
6 years ago · 6 minutes read

What is a URL Shortener
A URL Shortener as Rebrandly would out it is "a simple tool that takes a long URL and turns it into whatever URL you would like it to be". And that is all there is to it. A URL Shortener takes a URL, usually, a long one and converts it into a shorter URL.
Why use a URL Shortener
Using a URL shortener comes with a number of advantages:
- In creating shorter URLs they are more easily remembered.
- The shorter URLs allow for links to be shared via social media platforms that have hard text limits such as Twitter.
- For a number of commercial shortening services, you can track clicks and view compiled data on each generated link.
- Shortened URLs usually just look "better" or more aesthetically pleasing if we want to get technical 😄
Scope of this article
The aim of this article is to demonstrate interfacing with MongoDB using the first party Mongo client library as well as optimizations we can add to boost the performance of our application.
Technologies
If the title of the article was not a dead giveaway, we would be employing the following technologies:
- .NET Core (Runtime)
- ASP.NET Core (High-performance web framework)
- MongoDB (Document oriented NoSQL database)
- Mongo Client (Official MongoDB client library for .NET)
- ShortId (Short URL-safe id generator for .NET)
Prerequisites
To adequately follow this guide, you would need two things installed and running on your local machine
- The .NET Core SDK, if you do not have it installed, you can follow the installation instructions here
- The MongoDB Database Server, if you do not have it installed either, you can get the community (free edition) from here
Setting up
First, we create our application folder by running
mkdir url-shortener
Next, we change directories by running
cd url-shortener
Next, we create a new ASP.NET Core project
dotnet new mvc
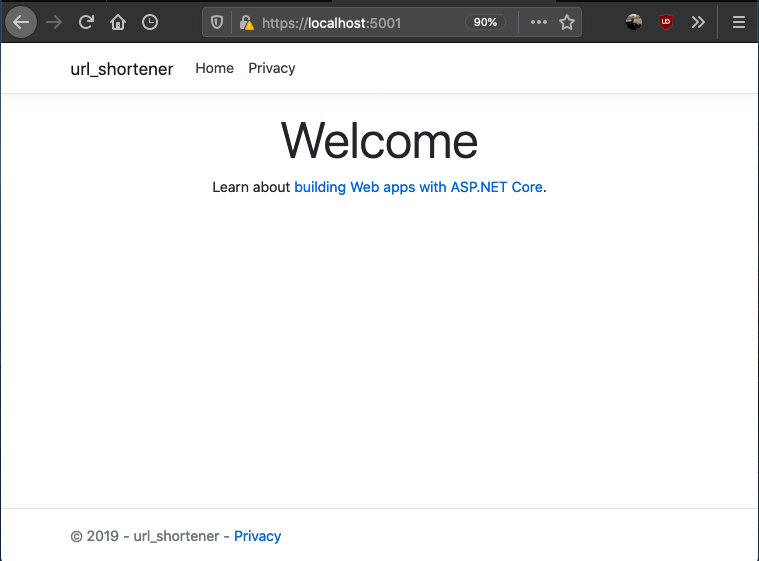
The line above creates a new MVC project. You can choose to use classic Razor pages or any other SPA framework offered by the CLI. To see the scaffolded app in action, you can run
dotnet run
if everything works as expected, your application should be running on http://localhost:5000 and if you visit the url you should see
Setting the server up
At this point, you can open the project up in your favourite code editor or Integrated Development Environment. For some, it is VSCode, Visual Studio, Sublime Text, or Atom (I don't judge). For me, the IDE of choice is JetBrains Rider.
You should have a folder structure similar to that shown below
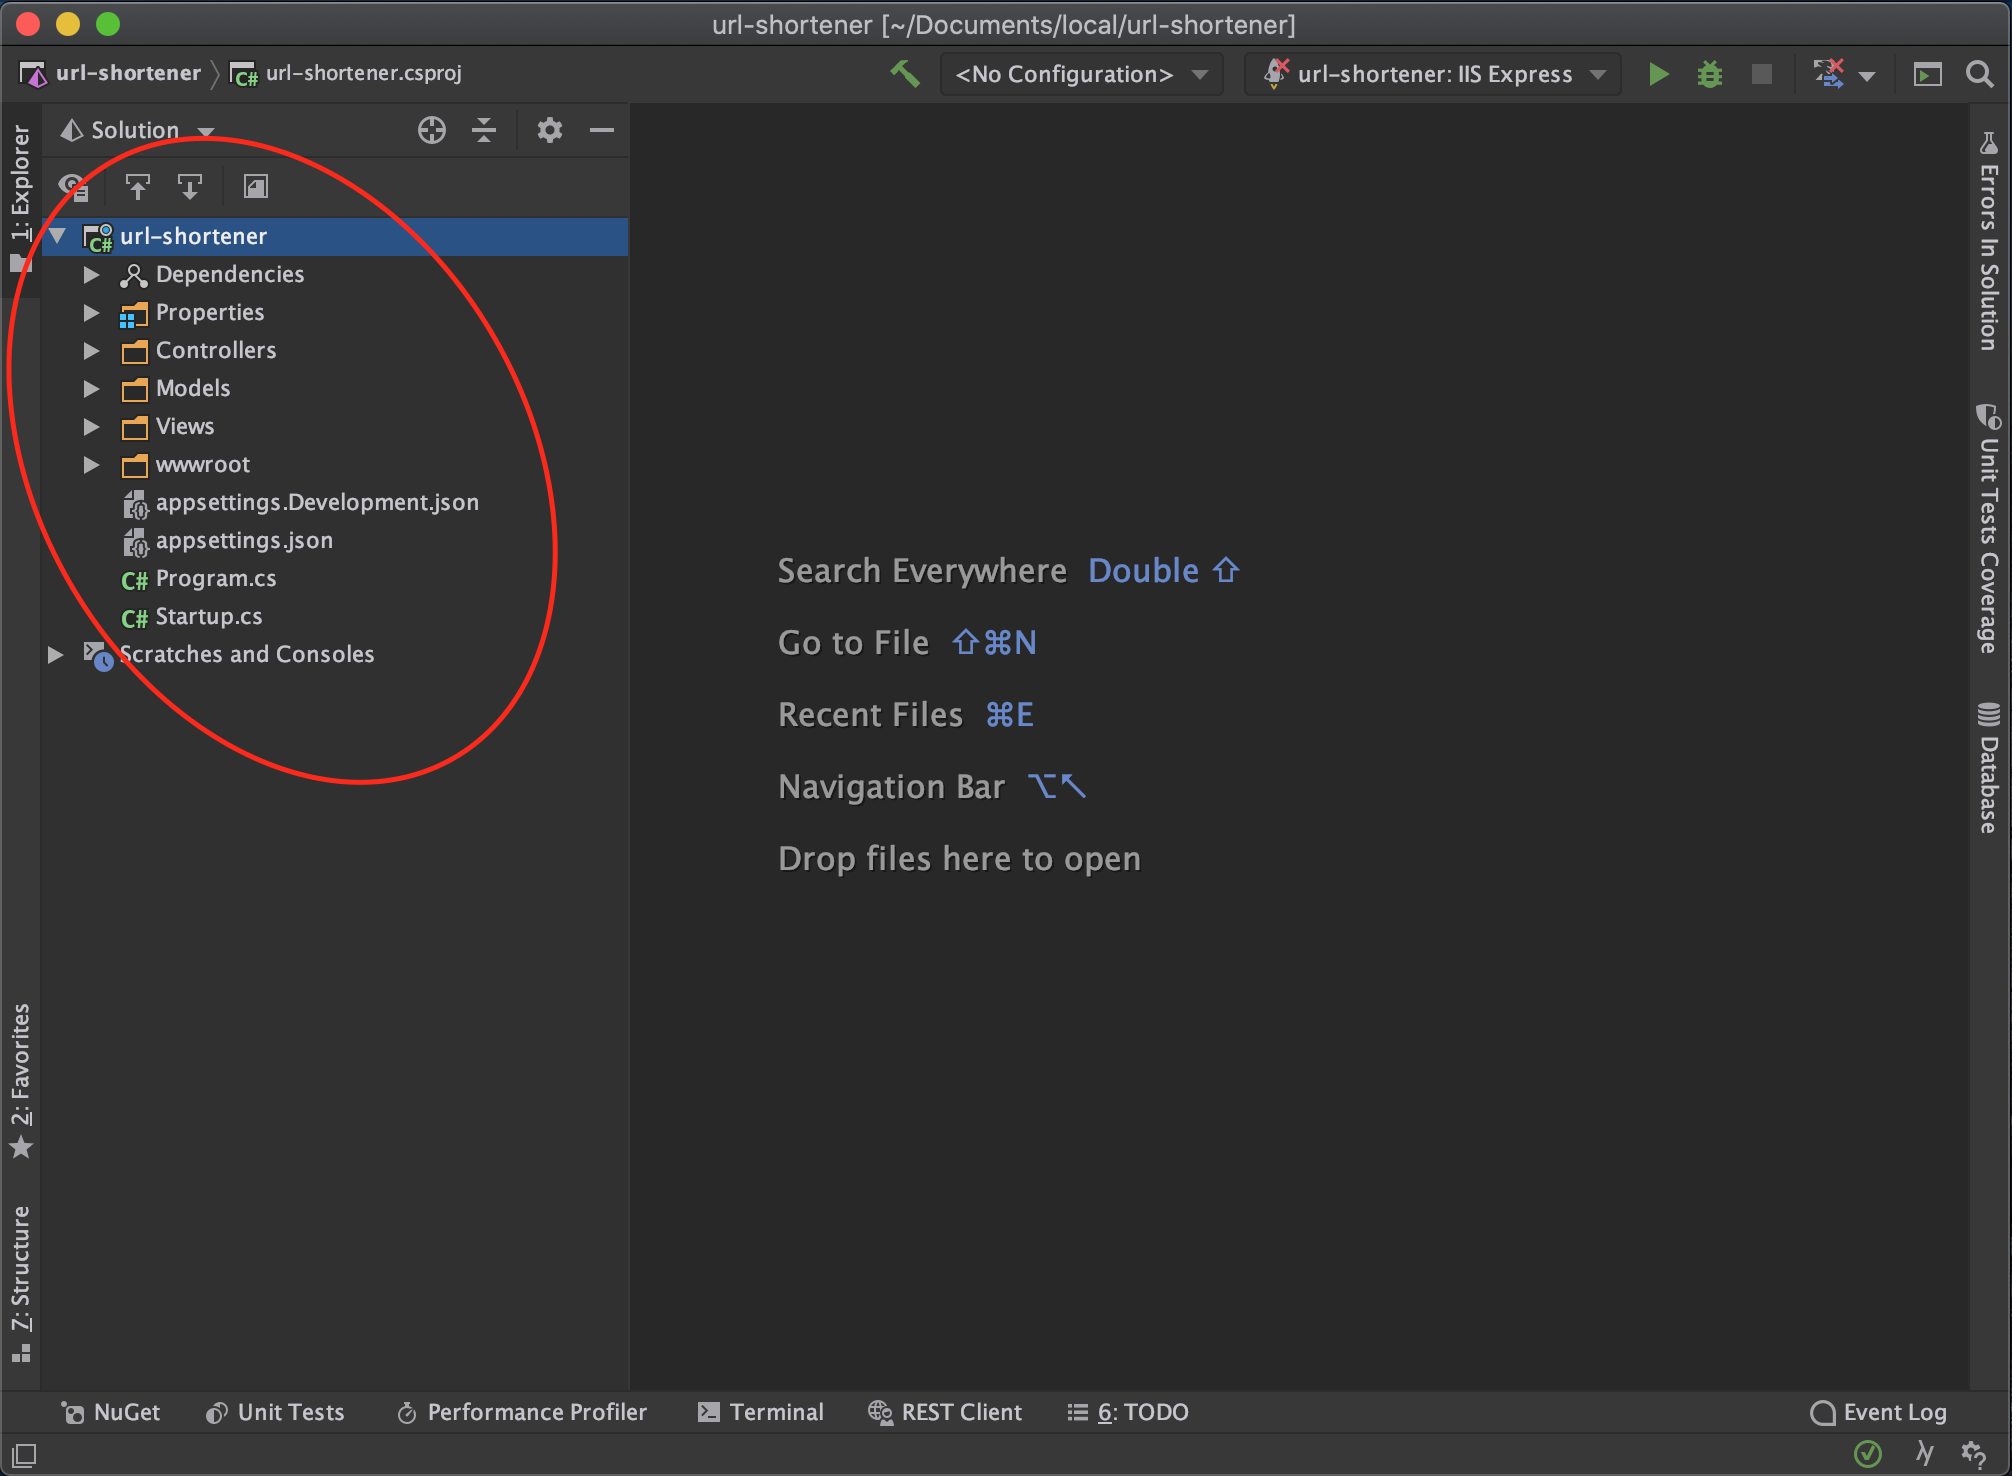
Next, we install the packages we need to get our service up and running
dotnet add package MongoDb.Driver
dotnet add package shortid
Next, we want to create our data model. First off create a directory named Models and a class file named ShortenedUrl.cs and add the following details
using MongoDB.Bson;
using MongoDB.Bson.Serialization.Attributes;

public class ShortenedUrl
{
   [BsonId]
    public ObjectId Id { get; set; }
    public string OriginalUrl { get; set; }
    public string ShortCode { get; set; }
    public string ShortUrl { get; set; }
    public DateTime CreatedAt { get; set; }
}
Next, we set up Mongo database in our controller. In the HomeController add the following
using MongoDB.Driver;

...
public class HomeController: Controller
{
        private readonly IMongoDatabase mongoDatabase;
        private const string ServiceUrl = "http://localhost:5000";

        public HomeController()
        {
            var connectionString = "mongodb://localhost:27017/";
            var mongoClient = new MongoClient(connectionString);
            mongoDatabase = mongoClient.GetDatabase("url-shortener");
        }
}
In the case above, url-shortener is the database name given and it can be changed to anything else. The next step for us is to create a controller method that would take in the long url and generate a short URL. This particular method checks the database first and then if the url has not been shortened before then we shorten and generate a URL.
using MongoDB.Driver.Linq;
using shortid;
using url_shortener.Models;
...
public class HomeController : Controller
{
        ...
        [HttpPost]
        public async Task<IActionResult> ShortenUrl(string longUrl)
        {
            // get shortened url collection
            var shortenedUrlCollection = _mongoDatabase.GetCollection<ShortenedUrl>("shortened-urls");
            // first check if we have the url stored
            var shortenedUrl = await shortenedUrlCollection
                .AsQueryable()
                .FirstOrDefaultAsync(x => x.OriginalUrl == longUrl);

            // if the long url has not been shortened
            if (shortenedUrl == null)
            {
                var shortCode = ShortId.Generate(length: 8);
                shortenedUrl = new ShortenedUrl
                {
                    CreatedAt = DateTime.UtcNow,
                    OriginalUrl = longUrl,
                    ShortCode = shortCode,
                    ShortUrl = $"{ServiceUrl}/{shortCode}"
                };
                // add to database
                await shortenedUrlCollection.InsertOneAsync(shortenedUrl);
            }

            return View(shortenedUrl);
        }
}
Next, we have to support redirecting to long URLs when the short URL link is entered into the address bar. And for that, we add an override to the default Index route that supports having a short code. The implementation for that controller endpoint is as follows
        [HttpGet]
        public async Task<IActionResult> Index(string u)
        {
            // get shortened url collection
            var shortenedUrlCollection = _mongoDatabase.GetCollection<ShortenedUrl>("shortened-urls");
            // first check if we have the short code
            var shortenedUrl = await shortenedUrlCollection
                .AsQueryable()
                .FirstOrDefaultAsync(x => x.ShortCode == u);

            // if the short code does not exist, send back to home page
            if (shortenedUrl == null)
            {
                return View();
            }

            return Redirect(shortenedUrl.OriginalUrl);
        }
Setting Up The Client Side
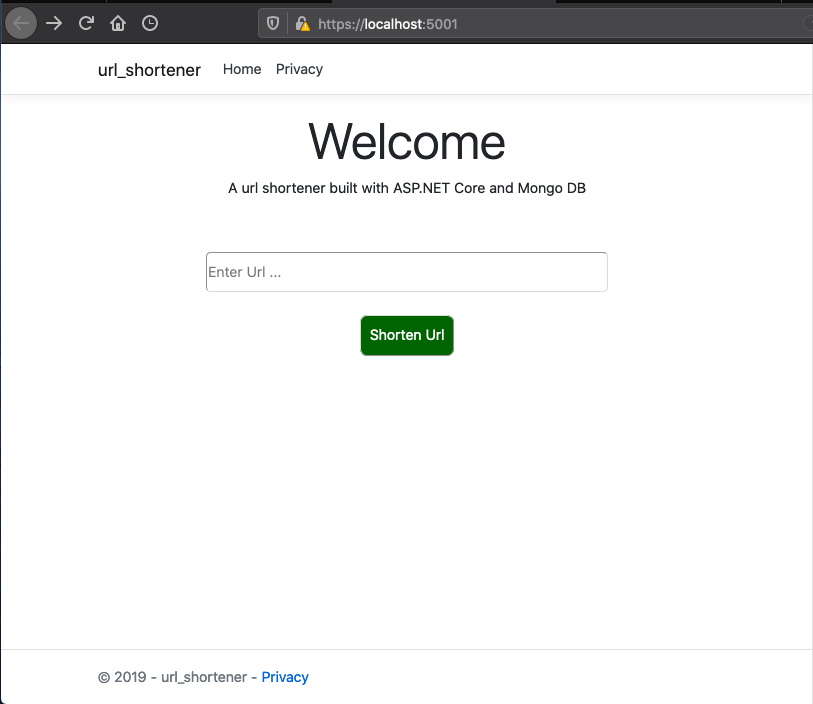
To receive the long url, we need to add an input control and a button to send the data to the server-side from. The home page is implemented as follows
@{
    ViewData["Title"] = "Home Page";
}

<div class="text-center">
    <h1 class="display-4">Welcome</h1>
    <p>A url shortener built with ASP.NET Core and Mongo DB</p>
</div>

<div style="width: 100%; margin-top: 60px;">
    <div style="width: 65%; margin-left: auto; margin-right: auto;">
        <form id="form" style="text-align: center;" asp-action="ShortenUrl" method="post">
            <input
                type="text"
                placeholder="Enter Url ..."
                style="width: 100%; border-radius: 5px; height: 45px;"
                name="longUrl"/>

            <button
                style="background-color: darkgreen; color: white; padding: 10px; margin-top: 25px; border-radius: 8px;"
                type="submit">
                Shorten Url
            </button>
        </form>
    </div>
</div>
To show the generated URL, we need a new view named ShortenUrl.cshtml with the following content under the Views directory
@model ShortenedUrl;

@{
    ViewData["Title"] = "Shortened Url";
}

<div style="width: 100%; padding: 30px;">
    <div>
        <div>Short Code: @Model.ShortCode</div>
        <div>Short Url: @Model.ShortUrl</div>
        <div>Long Url: @Model.OriginalUrl</div>
    </div>
</div>
A sample URL generated response would look like
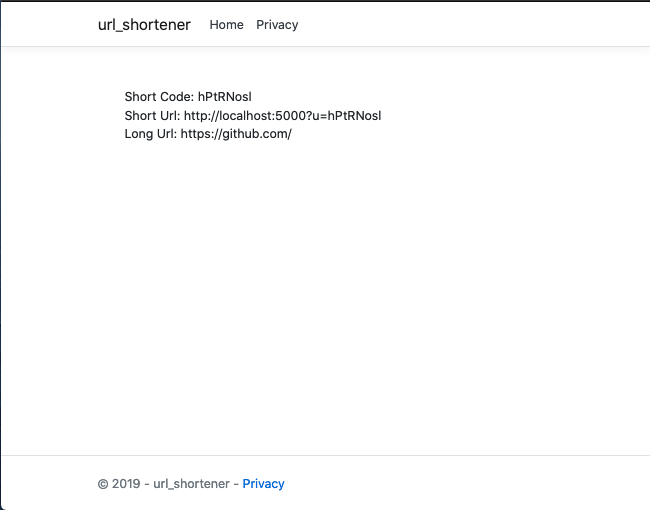
The entire source code for this article can be found here. In a follow-up article, we would benchmark the current implementation and take steps to improve performance.
Till the next one,
Adios
Clustering in NodeJS
7 years ago · 3 minutes read

image credit: slideshare
The problem
I got started with NodeJS about three years ago. As I learnt to build enterprise-grade applications using the runtime, a major drawback I kept coming across in my research was the fact that NodeJS is aggressively single-threaded. What this meant was that no matter how many threads and cores your computer or server had, the NodeJS process was limited to the one thread on which it was running. This major limitation meant a NodeJS web application could not fully utilize the hardware on which it was running.
The solution
Enter the cluster module. The cluster module is one of the native (it comes bundled with the NodeJS runtime and doesn't require installing from NPM and what not) modules and it gives developers the ability to utilize the hardware available to their applications by allowing a single NodeJS web application utilize worker processes to help handle requests as well.
How to use
After coming across the cluster module, I felt integrating it into my application would require quite a number of changes to make the logic "process-aware" and "process-safe", that turned out to be a wrong assumption as the integration into an existing project was as painless as it could possibly be.
To get started, first require the cluster module as well as the os module (would explain why in a bit) in your server.js file or whatever JavaScript file your HTTP server creation logic is in like so:
...
const cluster = require('cluster');
const os = require('os');
...
Next, we want to add logic to determine what process our code is currently running in, i.e whether or not it is a master or worker process. We can do that by checking the isMaster boolean field on the cluster object.
...
if (cluster.isMaster) {
  // this is the master process
} else {
  // this is a worker process
}
...
Next, when the master process starts, we want to create worker processes based on the number of cores the current machine has. This is where the os module comes into play, the os module gives access to operating system level information and logic. We create worker/child process like so:
if (cluster.isMaster) {
  // this is the master process
  const cpuCount = os.cpus().length;

  for (let i = 0; i < cpuCount; i += 1) {
    cluster.fork();
  }
} else {
  // this is a worker process
}
...
Now we have successfully created our worker processes, next, we want to give the worker processes the logic they should execute when they are up. For this, we copy the logic we used to set up our web server into the else block. The logic to set up your web server would be different from mine but I'll use mine as an example. I am setting up an express web server which would provide a bunch of RESTful endpoints as well as serve some static files. This is what my web server logic looks like:
...
} else {
  const app = express();
  const router = express.Router();
  const port = process.env.PORT || 3000;

  app.use(morgan('dev'));
  app.use(cors());
  app.use(bodyParser.json());
  app.use(bodyParser.urlencoded({
    extended: true
  }));

  routes.route(router);
  app.use('/v1/', router);

  app.use('/', express.static('public'), (req, res) => {
    res.status(200).sendFile(path.join(__dirname, '/public/index.html'));
  });

  app.listen(port, () => console.log(`Server started on ${port}`));
}
...
One last step, we need to know when one or more worker processes die or a killed off and replace them. To do that, we listen for the exit event on the cluster and carry out our revival efforts there.
...
cluster.on('exit', function (worker) {
  console.log('Worker %d died :(', worker.id);
  cluster.fork();
});
With that last step, we are good to go. Your web server should be ready to handle a bunch more requests right off the bat. The final, complete server.js file can be found here
Cheers.
[HOW TO] Working with vCardLib
7 years ago · 1 minute read
This documentation page is now obsolete, newer documentation with all new changes can be found on the dedicated documentation page

vCardLib is a library written entirely in C# for .NET. It is a library that enables contacts to be read from a VCF file. It can read multiple contacts from a single vCard file or single contacts from a single vcf file. The contacts are read into a vCardCollection object which is a collection of vCard objects. These vCard objects have properties that store contact information. As at now, the library supports only vCard version 2.1, support for versions 3.0 and 4.0 will be added shortly. Also, the photo extraction code is buggy and has been extracted from the production code, to see it, visit the GitHub link https://www.github.com/bolorundurowb/VCF-Reader
To make use of the library, add it to the project references and
using vCardLib;
...

var contacts = vCard.FromFile(@"vcf/ file /path");
foreach(var contact in contacts)
{
   \\ statements
}
The library can also be gotten from Nuget at https://www.nuget.org/packages/vCardLib.dll/
To see a test application using this library https://sourceforge.net/projects/vcf-reader/
GIT - For The Absolute Beginner (Part 3 aka the Finale)
7 years ago · 4 minutes read

This is the third part of a series that aims to take the reader from zero to hero when it comes to using the Git version control system. Part 1 covered the various git commands and their usages. Part 2 was a step by step tutorial on setting up a local git repository, adding files to tracking and pushing to GitHub. In this part, we’d deal with creating branches, merging branches, rebasing and fixing conflicts.
NOTE: This is a continuation of the work done in part 2, so if you haven’t gone through that, endeavour to do that.
Branching
What is branching in git? In its most basic form, branching is the process of creating a copy of the current state of your project so that you can make changes without affecting the original state. Let’s say, for example, you are working on a website and you are done with the design. Your supervisor comes in and asks you to change the login button to bright pink with a unicorn as the icon. You wouldn’t want to make the requested changes to the files directly as that would mean the site would be unavailable till you’re done making the changes, this is where branching comes in handy. Since a picture is worth a thousand words, here is an image showing what branching is courtesy of Atlassian.
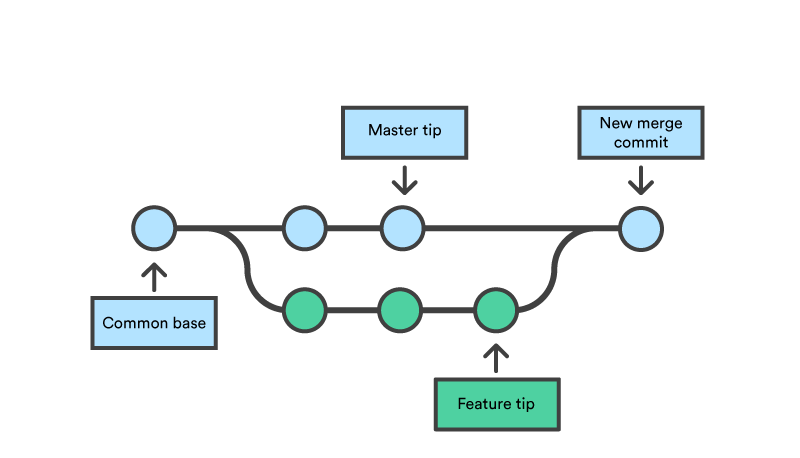
In the infographic above, the purple (little feature) and green (big feature) lines are branches of master (the blue line). Whatever changes are made in the branches do not affect the master branch. As an aside, throughout this tutorial, we would be mentioning the master branch a lot, the master branch basically is the main branch or the branch from which all other branches can trace their source.
In part 2 of this tutorial series, we added three files to the master branch of our repository. The index.html, script.js and styles.css files. Going with the example we laid, let's say I am to add a pink button with the unicorn icon. I would create a feature branch using the following command
git branch new-login-button
this creates a branch named new-login-button and it would contain an exact copy of the code in the master branch. To switch to the spanking new branch we just created, we use the following command
git checkout new-login-button
we proceed to make the changes we need to the index.html and styles.css files as we see fit.
Place this in the HTML file:
<html>
  <head>
    <title>Git Workflow</title>
    <link rel="stylesheet" type="text/css" href="./styles.css" />
    <script src="./script.js"></script>
  </head>

  <body>
    <button class="btn">
      <img src="./unicorn.png">
      <br/>
      LOGIN
    </button>
  </body>
</html>
Place this in the CSS file:
.btn {
  width:170px;
  height:95px;
  color:black;
  background-color:rgb(242,84,110);
  font-size:18px;
  font-weight:bold;
  border-radius:8px;
}

img {
  height:35px;
  width:35px;
}
Next, we have to add the files to tracking by using the following command:
git add .
Next, we commit the changes using:
git commit -m "add pink button with unicorn logo"
Merging
Even as branching is creating a copy of the branch you are on so you can make changes, merging is the process of bringing the changes you have made back into the root branch. Continuing with the example we are working with, I created the button as instructed by my supervisor. This was my output:
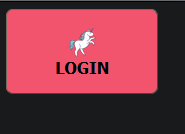
Lets say that after review, my supervisor is elated with my super awesome unicorn button and approves its depeloyment. This means my work has to get to the master branch from the new-login-button branch we created earlier. This is where merging comes into its own. We would run two commands, one to switch to the master branch, the second actually merges the changes:
git checkout master

git merge new-login-button
Other useful commands
To retrieve the latest changes on your remote repository, you run the following
git pull origin "<branch-name>"
To push your local changes to your remote repository, you can run:
git push origin <branch-name>
Summary
While this series has not been exhaustive, I trust that we have covered the often-used commands in the Git world.